Day 8 Classroom Incubation Project

If an egg is broken by an outside force, life ends. If an egg is broken by an inside force, life begins. Great things happen from the inside. – Unknown

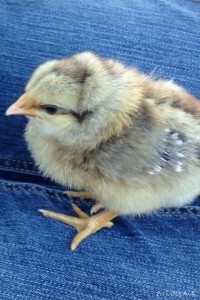
Today was day 8 of our chicken and duck egg incubation project. You can read about day 1 here and if you are interested in chickens in your classroom you can find basic instructions right here. We turned the lights off and it was time to candle the eggs. It is hard to believe, but right now all of the eggs are developing perfectly. The embryos are clearly visible. The class was incredibly excited. The duck egg has some dirt on it and the class had an interesting discussion about washing the eggs. We will explore the microbial film covering the eggs tomorrow.

Chickens in the Classroom

IMG_1194

Here a chick, there a chick, everywhere a chick chick…

Incubating chickens in the classroom is a great science activity and easier than you might think. A lot of science curriculums include incubating eggs as an optional activity.  Are you ready?

Step 1

Determine who will take the chicks after they hatch.  Since it is impossible to know how many will hatch it is good to find several interested parties and establish a procedure who gets to pick first.

Step 2

Order an incubator, heating lamp, and chick starter from Amazon.

Step 3

Get fertilized eggs.

Step 4

On a Tuesday morning start incubating the eggs.  Make sure to follow the instructions included in the incubator.

Step 5

21 days later enjoy watching your chicks hatch!