There is no must in art because art is free”
~Wassily Kandinski
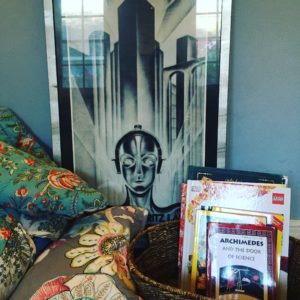
The Artist
Wassily Kandinsky was known for his colorful abstract art. Born in Russia and trained as a lawyer, he became a well-known artist in the famous Blue Rider Group. He also taught at the German Bauhaus school of art. Later, he settled in France and died in Neuilly-sur-Seine in 1944. A well-known work of art is his Concentric Circles.
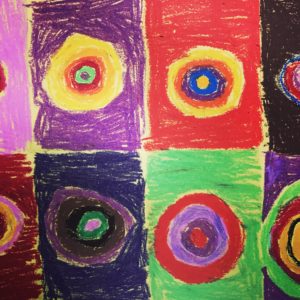
Concentric Circles Art Project
Concentric Circles is a great project for students to feel successful. Even young students love experimenting with different color combinations.
We love using oil pastels for this project. The artist originally used paint and we have seen successful versions made with pretty much any art materials under the sun. You can pull this project off with crayons and scrap paper if necessary.
There are many YouTube video lessons to choose from to inspire your students. This is one of our favorites. The teacher used black construction paper instead of white and it looks great as well.
Materials For Concentric Circles
- Paper
- Pastels/Crayons
Procedure
Model folding the paper four times and then unfolding it. The creases become the frames for the concentric circles. Show students how to draw the circles with the oil pastels. The thicker they color in, the more colorful the image becomes.
Have fun creating! If you liked our concentric circles art project, please check out more of our (Almost) No Prep Art Projects.